Some time ago I replaced my Mikrotik router with linux box which is working as a router for my home network and as a server for some services.
I had to spend some time to set up IPv6 on linux in such way, that everything was working automatically and without need to configuring anything in statically way. This post will be only about IPv6 part of router configurations.
I omit IPv4 part and configurations of network interfaces, because it is well documented in internet.
To make the router working, I had to:
- change some sysctls to obtain IPv6 address on wan interface of my router by Stateless autoconfiguration (SLAAC).
- I used wide-dhcpv6-client client to obtain IPv6 adresses pool (DHCPv6-PD) to redistribute addresses from pool on my devices in home network.
- Redistributing addresses is done by dnsmasq.
First step – sysctls:
Part of my /etc/sysctl.conf confgured to obtain IPv6 address from Stateless autoconfiguration (SLAAC) on wan interface – eth0:
|
1 2 3 4 5 6 7 8 9 10 |
# Enable IPv6 forwarding net.ipv6.conf.all.forwarding = 1 # Obtain IPv6 address on wan interface by Stateless autoconfiguration (SLAAC) net.ipv6.conf.eth0.accept_ra = 2 # I want to have one IPv6 address on my wan interface, based on my mac address. # Without this my router will also have temporary, random IPv6 addresses which will be changing over time. net.ipv6.conf.all.use_tempaddr = 0 net.ipv6.conf.default.use_tempaddr = 0 |
After reboot I can see that my wan interface has public IPv6 address:
|
1 2 3 4 5 6 7 8 9 |
eth0 Link encap:Ethernet HWaddr 00:4F:62:XX:XX:XX inet addr:37.X.X.X Bcast:37.X.X.X Mask:255.255.254.0 inet6 addr: fe80::24f:62ff:fe16:bd48/64 Scope:Link inet6 addr: 2a03:XXXX:0:252:24f:62ff:fe16:bd48/64 Scope:Global UP BROADCAST RUNNING MULTICAST MTU:1500 Metric:1 RX packets:264107 errors:0 dropped:0 overruns:0 frame:0 TX packets:38333 errors:0 dropped:0 overruns:0 carrier:0 collisions:0 txqueuelen:1000 RX bytes:33499400 (31.9 Mb) TX bytes:25331826 (24.1 Mb) |
Second step – wide-dhcpv6-client:
Configuration of wide-dhcpv6-client which will be obtaining IPv6 address pool (DHCPv6-PD) for lan interface (eth1)
|
1 2 3 4 5 6 7 8 9 10 11 12 13 14 15 16 17 18 19 20 21 22 23 24 |
router:~ # cat /etc/wide-dhcpv6/dhcp6c.conf # eth0 is my wan interface interface eth0 { # request a non-temporary address # request prefix delegation address send ia-pd 1; request domain-name-servers; request domain-name; }; id-assoc pd 1 { prefix ::/64 infinity; prefix-interface eth1 { sla-len 0; # elated with ia-pd to configure subnet on lan interface - eth1 sla-id 1; # "postfix" of IPv6 address on lan interface. # if not configured interface will has EUI-64 (mac based) address. # In this case, eth1 will get a IPv6 ending with ::1 ifid 1; }; }; |
Unfortunately package of wide-dhcpv6-client does not provide configuration file for systemd. To start up wide-dhcpv6-client by systemd I created wide-dhcpv6.service entry:
|
1 2 3 4 5 6 7 8 9 10 11 12 |
router:~ # cat /usr/lib/systemd/system/wide-dhcpv6.service; [Unit] Description=wide-dhcpv6 Before=dnsmasq.service After=network.target ypbind.service nfs.service nfsserver.service rpcbind.service SuSEfirewall2_init.service [Service] ExecStart=/usr/sbin/dhcp6c -c /etc/wide-dhcpv6/dhcp6c.conf -P default -d -D -f eth0 RemainAfterExit=true [Install] WantedBy=multi-user.target |
Enable it on system startup:
|
1 2 |
router:~ # systemctl enable wide-dhcpv6.service Created symlink from /etc/systemd/system/multi-user.target.wants/wide-dhcpv6.service to /usr/lib/systemd/system/wide-dhcpv6.service. |
After reboot I can see that my lan interface (eth1) has assignment IPv6 address with prefix:
|
1 2 3 4 5 6 7 8 9 10 |
eth1 Link encap:Ethernet HWaddr C0:3F:D5:6D:F4:5C inet addr:192.168.51.1 Bcast:192.168.51.255 Mask:255.255.255.0 inet6 addr: fe80::c23f:d5ff:fe6d:f45c/64 Scope:Link inet6 addr: 2a03:XXXX:252f:e900::1/56 Scope:Global UP BROADCAST RUNNING MULTICAST MTU:1500 Metric:1 RX packets:361458 errors:0 dropped:0 overruns:0 frame:0 TX packets:92615 errors:0 dropped:0 overruns:0 carrier:0 collisions:0 txqueuelen:1000 RX bytes:61669608 (58.8 Mb) TX bytes:31434041 (29.9 Mb) Interrupt:20 Memory:f7c00000-f7c20000 |
Last step – dnsmasq:
Part of configuration of dnsmasq (/etc/dnsmasq.conf) to redistributing IPv6 addresses in home network. Dnsmasq will also work as dns cache. :
|
1 2 3 4 5 6 7 8 9 10 11 12 13 |
# don't listen to anything on eth0 except-interface=eth0 bogus-priv # IPv6 Route Advertisements enable-ra # Create a IPv6 range from address on the interface. The ::1 is related to the ifid in /etc/wide-dhcpv6/dhcp6c.conf. dhcp-range=tag:eth1,::1,constructor:eth1, ra-names, 12h # ra-names - it gives DNS names to IPv6 hosts local=/home/ |
Enable dnsmasq on system startup:
|
1 2 |
router:~ # systemctl enable dnsmasq.service Created symlink from /etc/systemd/system/multi-user.target.wants/dnsmasq.service to /usr/lib/systemd/system/dnsmasq.service. |
After reboot, devices in home network should be able to use internet by IPv6 🙂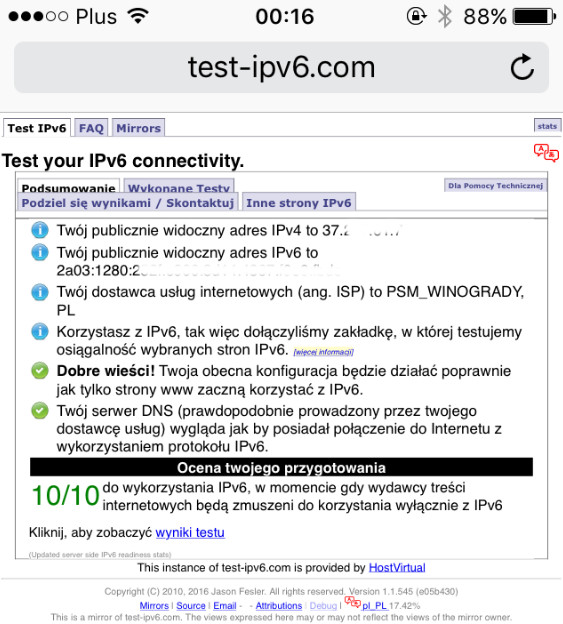
|
1 2 3 |
ip6tables -A FORWARD -m state --state NEW -i eth1 -o eth0 -j ACCEPT ip6tables -A FORWARD -m state --state ESTABLISHED,RELATED -j ACCEPT ip6tables -P FORWARD DROP |
It’s all, described configuration works flawlessly for me for days 🙂